Have you ever walked past a vibrant flower bed or admired a neighbor’s bumper crop of tomatoes and thought, “I wish I could do that, but I don’t have a green thumb”? Here’s a little secret: every expert gardener started as a beginner, and a “green thumb” is just a mix of basic knowledge, patience, and learning from the little missteps along the way.
Gardening is one of life’s most rewarding hobbies. It connects you to nature, provides healthy food and beauty, and offers profound mental and physical benefits. The thought of starting can feel overwhelming—soil types, watering schedules, mysterious pests—but it doesn’t have to be complicated.
This simple 7-step guide is designed to cut through the confusion and give you the confidence to pick up a trowel, get your hands dirty, and experience the magic of watching something grow.
Step 1: Start Small & Pick Your “Why”
The number one mistake new gardeners make is starting too big. A massive, untended plot leads to overwhelm and burnout.
Your First Action:
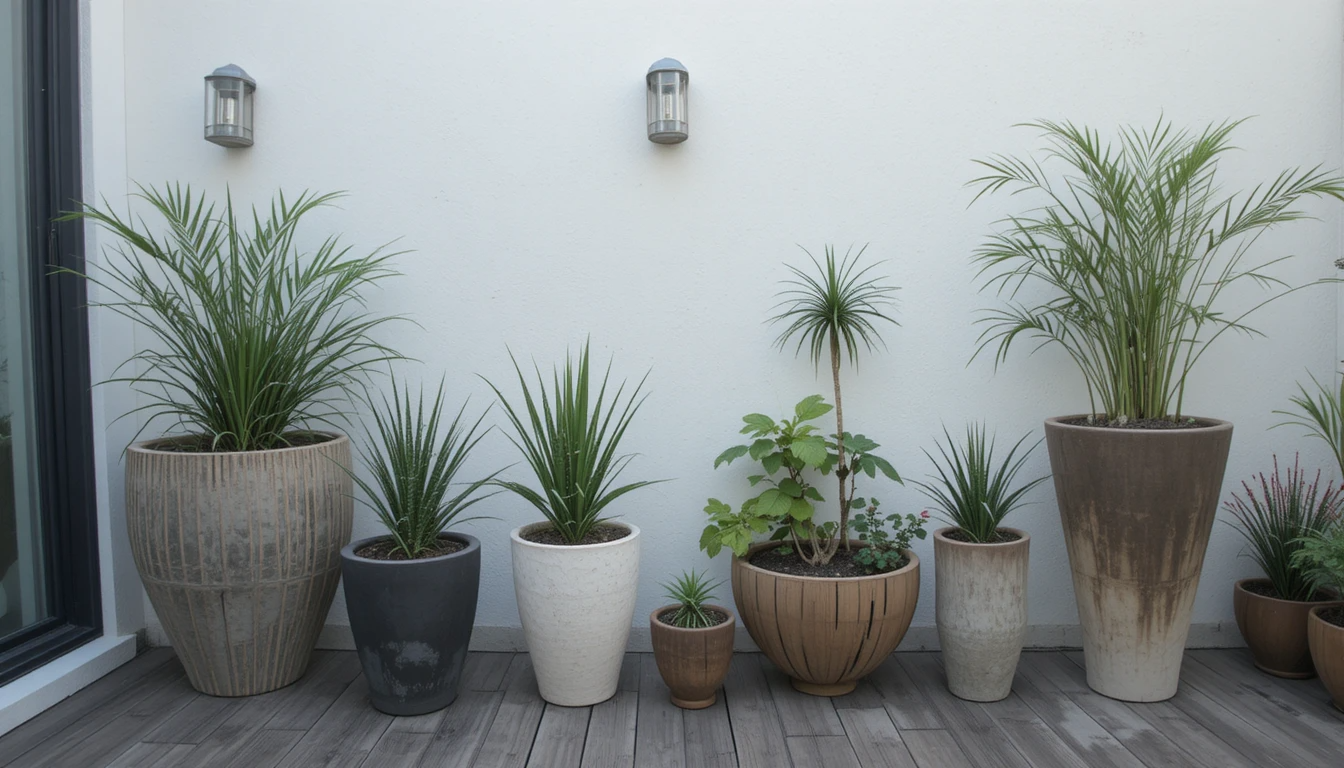
- Think Small: Start with a single container, a small raised bed (4×4 feet is perfect), or a dedicated patch of your existing yard no larger than a bathroom rug.
- Define Your “Why”: Are you dreaming of fresh salads? Do you want cut flowers for your kitchen table? Are you hoping to create a butterfly haven? Your goal will determine what you plant and how you design your space. Beginner-Friendly Choices:
- For Food: Lettuce, radishes, cherry tomatoes, bush beans, and herbs like basil and mint.
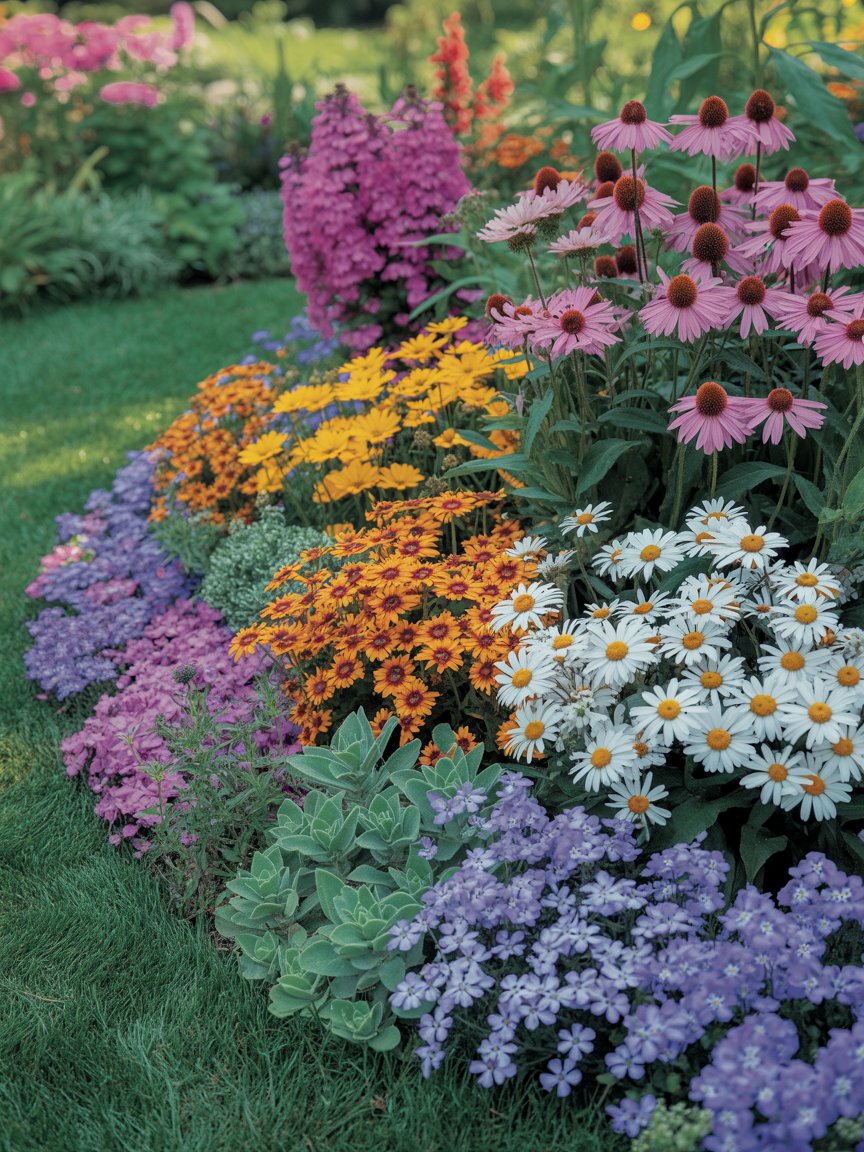
- For Beauty: Marigolds, zinnias, sunflowers, and pansies. They’re easy to grow from seed and very forgiving.
Step 2: Location, Location, Location (Sunlight is Everything!)
Plants are solar-powered. The single most important factor for success is placing your garden where it gets enough light.
Your First Action:
- Become a Sun Detective: For 1-2 days, watch your potential garden spot.
- Full Sun: 6+ hours of direct sunlight. Needed for almost all vegetables and most flowers.
- Partial Sun/Shade: 3-6 hours of sun. Good for leafy greens and some flowers.
- Full Shade: Less than 3 hours. Limits you to specific shade-loving plants.
- Other Location Tips: Choose a spot that’s relatively flat, has easy access to water, and is away from heavy foot traffic or aggressive tree roots.
Step 3: Get to Know Your Soil (Don’t Skip This!)
Think of soil as your plant’s home and pantry. Healthy soil = happy plants. You don’t need a chemistry degree, just some basic observation.
Your First Action:
- The Squish Test: Grab a handful of moist (not wet) soil and squeeze it.
- It forms a tight ball and feels sticky? You have clay soil (holds water, drains slowly).
- It falls apart immediately and feels gritty? You have sandy soil (drains quickly, dries out fast).
- It holds a loose shape and feels crumbly like chocolate cake? You have loamy soil (the gardening jackpot!).
- The Simple Fix: No matter your soil type, the universal solution is to add compost. Mix 2-4 inches of compost into your garden bed or use a high-quality potting mix for containers. Compost improves drainage in clay, adds nutrients, and helps sandy soil retain moisture.
Step 4: Choose Your Plants Wisely (Read the Tag!)
When you’re at the garden center, it’s easy to get carried away. Arm yourself with knowledge before you buy.
Your First Action:
- Buy Starter Plants (Transplants): For your very first season, skip the seeds (except for super-easy ones like radishes or sunflowers). Buy small “starter” plants from a local nursery. They give you a huge head start.
- Read the Plant Tag: This is your cheat sheet! It tells you:
- Sun Needs: Does it match your spot from Step 2?
- Spacing: How far apart to plant them (crucial for preventing disease).
- Days to Maturity: How long until you get flowers or food?
- Final Size: Don’t plant a giant zucchini in a tiny pot!
Step 5: Plant with Care & Patience
Planting day is exciting! A gentle touch makes all the difference.
Your First Action:
- Timing is Key: Wait until after the last expected frost in your area. A local nursery can tell you this date. Planting too early in cold soil shocks plants.
- The Gentle Technique:
- Water the plants in their pots before removing them.
- Gently squeeze the pot and tip it upside down, supporting the plant stem with your fingers.
- If roots are tightly wound in a circle (root-bound), gently tease them apart.
- Dig a hole slightly larger than the root ball.
- Place the plant in, ensuring the top of the root ball is level with the soil surface. Fill in with soil and pat gently.
- Water Deeply: Give your newly planted friends a long, slow drink right after planting to help settle the soil around the roots.
Step 6: Water & Feed Smartly (Consistency Beats Perfection)
Plants thrive on routine, not guesswork.
Your First Action:
- The Finger Test: The #1 rule for watering—don’t water on a schedule, water when needed! Stick your finger 2 inches into the soil. If it’s dry, water. If it’s damp, wait.
- Water Deeply & Infrequently: It’s better to give the soil a good soak that reaches the roots every few days than to sprinkle the surface daily. This encourages strong, deep roots.
- Feed Gently: If you added compost at planting, you might not need fertilizer. If plants look pale or grow slowly, use a gentle, balanced organic fertilizer (like fish emulsion or liquid seaweed) every 2-4 weeks, following package directions. Less is more.
Step 7: Embrace the Learning Curve (Observe & Enjoy)
Your first garden is a living classroom. Not everything will go perfectly, and that’s okay!
Your First Action:
- Visit Daily: Spend 5 minutes each day just looking. Notice new leaves, watch for buds, and check under leaves for bugs. This simple habit helps you catch issues early.
- Weed a Little, Often: Weeds steal water and nutrients. Pulling a few weeds for 5 minutes every other day is far easier than tackling a jungle on the weekend.
- Celebrate Successes: That first ripe tomato, the first sunflower that opens, the bee that visits your flowers—these are your victories! Take pictures and enjoy the process.
Your Essential Beginner’s Gardening Toolkit
You don’t need much to start:
- Hand Trowel: For digging small holes and planting.
- Pruners: For trimming and harvesting.
- Garden Gloves: To keep your hands clean and protected.
- Watering Can or Hose with a Gentle Nozzle: A watering can gives you more control.
- A Notebook: Jot down what you planted, when, and what worked. This is your most valuable tool for next year!
Conclusion: Just Start Planting
Gardening is a journey of discovery. You will have setbacks—a plant that mysteriously wilts, pests that find your kale—but you will also experience daily wonders that far outweigh the challenges.
The most important step is the first one. Choose a pot, pick a sunny spot, get a bag of good soil and a single plant that makes you smile. Follow these simple steps, be patient with yourself and your plants, and get ready to harvest not just food and flowers, but a deep sense of accomplishment and joy.
Welcome to the wonderful world of gardening. Your green thumb is waiting to grow.
What’s the first plant you want to grow? Do you have a specific gardening question holding you back? Share in the comments below—let’s help each other grow!