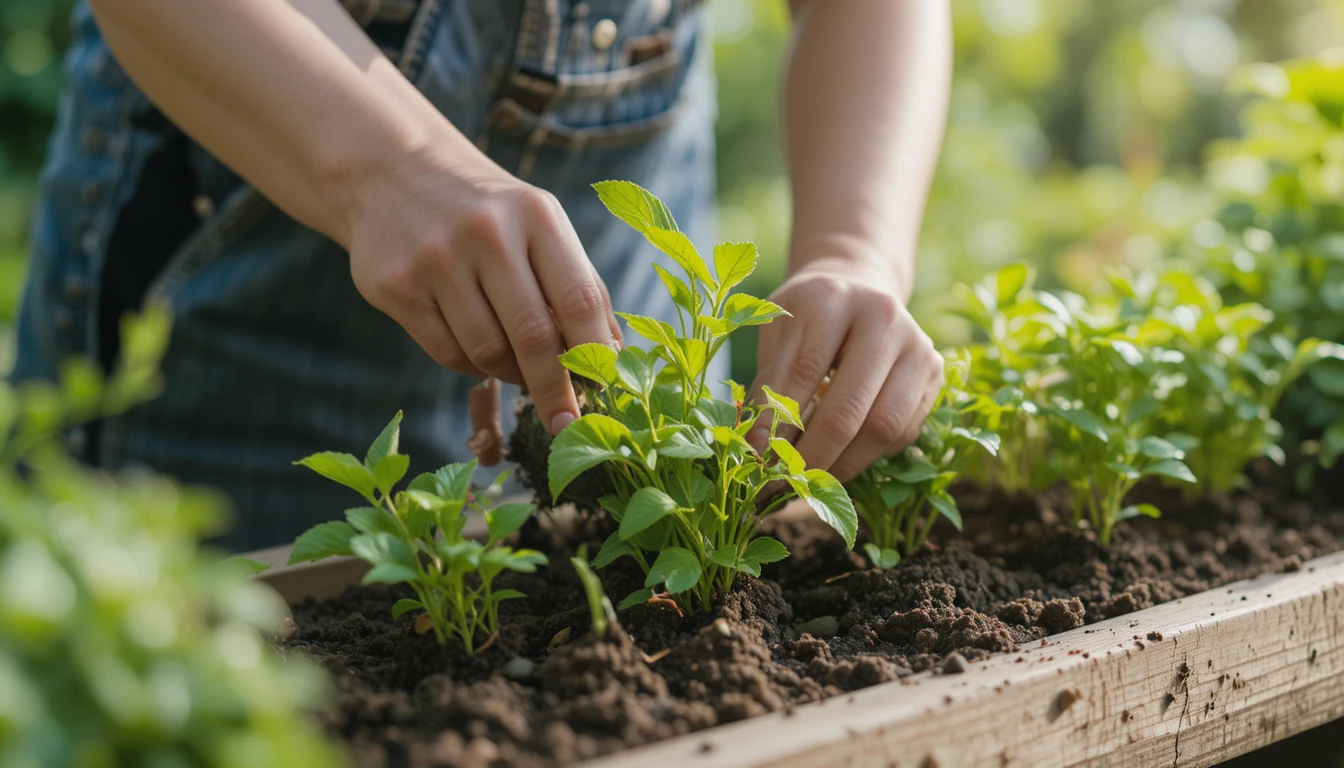
Gardening has always been a creative act—the original DIY. But somewhere between the seed catalogs and harvest baskets lies a world of creative possibility that goes beyond planting. The modern garden has evolved into a canvas for personal expression, a workshop for sustainable craftsmanship, and a laboratory for imaginative recycling. This is where function meets whimsy, where scrap materials find new life as planters, and where your personality blooms alongside your flowers and vegetables.
Welcome to the world of Garden DIY, where the satisfaction of growing is amplified by the joy of making. Whether you’re upcycling old furniture into plant displays, building your own irrigation system, or creating garden art that dances in the wind, these projects invite you to leave your unique imprint on your outdoor space. They prove that a beautiful garden doesn’t require a big budget—just curiosity, basic tools, and a willingness to get your hands dirty in the most creative ways.
Chapter 1: The Philosophy of Creative Gardening
Beyond Aesthetics: Why We Make
Garden DIY isn’t just about saving money (though that’s a wonderful benefit). It’s about:
- Personalization: Transforming generic garden centers’ offerings into creations that reflect your style
- Sustainability: Giving new life to materials that would otherwise end up in landfills
- Problem-solving: Creating custom solutions for your specific space and needs
- Therapeutic process: Finding flow and mindfulness in the act of making
- Knowledge building: Understanding how things work by building them yourself
The Three Principles of Garden DIY
- Form Follows Function, Then Gets Fancy: Every project should serve a purpose first—growing, containing, supporting, watering. Embellishment comes after.
- Embrace Imperfection: Weathering, patinas, and slight asymmetries add character. Your garden isn’t a showroom; it’s a living, changing space.
- Start Small, Dream Big: Begin with a simple project like a painted rock marker before tackling a full vertical garden wall. Success builds confidence.
Chapter 2: Found Object Planters: Giving New Life to the Unlikely
The Art of the Upcycled Container
Almost anything that can hold soil and drain water can become a planter. The key is in the transformation.
Project 1: The Vintage Suitcase Garden
- Materials: Old hard-shell suitcase, drill, landscape fabric, potting soil, plants
- Process:
- Drill 8-10 drainage holes in the bottom
- Line with landscape fabric to prevent soil from escaping
- Fill with lightweight potting mix
- Plant with shallow-rooted annuals or succulents
- Display on patio table or porch
- Design Tip: Choose plants that complement the suitcase’s era—old-fashioned petunias for a 1940s case, sleek succulents for mid-century modern.
Project 2: The Teacup Fairy Garden
- Materials: Assorted teacups and saucers (thrift store finds), small pebbles, activated charcoal (for drainage), moss, tiny plants (sedum, miniature ferns), miniature accessories
- Process:
- Create drainage layer with pebbles and charcoal
- Add soil and arrange plants
- Top with moss and accessories
- Cluster several together for maximum impact
- Design Tip: Create a themed collection—a “herbal tea” cup planted with tiny herbs, or a “woodland” scene with tiny mushrooms.
Project 3: The Boot Planters
- Materials: Old rain boots or work boots, drill, potting soil, trailing plants
- Process:
- Drill drainage holes in the soles
- Fill with soil and plant
- Use as quirky border markers or line up along a fence
- Design Tip: Paint patterns on plain boots before planting, or choose boots that tell a story—a child’s outgrown rainboots planted with forget-me-nots.
Chapter 3: Vertical Gardening Solutions for Small Spaces
Reaching for the Sky
When square footage is limited, think vertically. These projects add growing space without sacrificing floor area.
Project 4: The Pallet Garden Wall
- Materials: Standard pallet (heat-treated, not chemically treated), landscape fabric, staple gun, potting soil, plants
- Process:
- Stand pallet upright and staple landscape fabric to back, bottom, and sides, leaving front open
- Lay pallet flat, fill with soil through slats
- Plant through front openings
- Let establish for 2-3 weeks lying flat before standing upright
- Secure to wall or fence
- Plant Choices: Herbs, strawberries, lettuce, trailing flowers like lobelia
- Safety Note: Ensure pallet is securely attached to prevent tipping
Project 5: The Gutter Garden
- Materials: Vinyl gutters, end caps, mounting brackets, drill, potting mix
- Process:
- Cut gutters to desired length (3-4 feet works well)
- Attach end caps with waterproof sealant
- Drill drainage holes every 6 inches
- Mount on fence, railing, or wall with brackets
- Fill with soil and plant
- Ideal For: Shallow-rooted crops like lettuce, radishes, spinach, and herbs
- Pro Tip: Create a tiered system with multiple levels for a living curtain effect
Project 6: The Shoe Organizer Herb Garden
- Materials: Canvas hanging shoe organizer, potting soil, herbs
- Process:
- Hang on sunny fence or wall
- Fill pockets with potting mix
- Plant one herb per pocket
- Water carefully—drainage happens through fabric
- Brilliant Because: Each pocket is perfectly sized for an herb plant, and you can literally “grab your herbs and go”
Chapter 4: Creative Garden Structures & Supports
Building the Bones of Your Garden
These projects provide support for climbing plants while adding architectural interest.
Project 7: The Rustic Twig Teepee
- Materials: 6-8 straight branches (6-8 feet long), jute twine, climbing beans or peas
- Process:
- Gather branches and tie together at top with twine
- Spread bottoms to form teepee shape
- Bury ends 6 inches deep for stability
- Plant climbing vegetables at each leg
- Add horizontal twine strands for plants to climb
- Charm Factor: Perfectly rustic and wonderful for children’s gardens
Project 8: The Repurposed Ladder Plant Stand
- Materials: Old wooden ladder, wooden planks, sandpaper, outdoor paint or stain (optional)
- Process:
- Clean and sand ladder
- Paint or stain if desired
- Cut planks to fit between ladder rungs as shelves
- Secure shelves with screws or simply rest them on rungs
- Arrange potted plants on each level
- Design Variations: Use as a vertical herb garden, display for flowering annuals, or drying rack for herbs and flowers
Project 9: The Copper Pipe Trellis
- Materials: Copper pipes and fittings, pipe cutter, plants
- Process:
- Design simple geometric shape (cube, arch, grid)
- Cut pipes to size with pipe cutter
- Dry-fit pieces, then assemble with fittings
- Push legs into ground or secure to container
- Why Copper: Develops a beautiful patina over time, plus small amounts of copper wash into soil, acting as natural fungicide
Chapter 5: Water Features & Irrigation Hacks
Bringing Movement and Efficiency
Project 10: The Self-Watering Container from Storage Totes
- Materials: Two identical storage totes, PVC pipe, drill, landscaping fabric, potting mix
- Process:
- Designate one tote as reservoir, one as planting chamber
- Cut large opening in planting chamber lid, line with fabric
- Drill hole for wicking basket (made from small pot) in planting chamber bottom
- Assemble with fill tube (PVC) and overflow hole
- Plant and fill reservoir through tube
- Game Changer: Can go 1-3 weeks without watering, perfect for vacations
Project 11: The Bamboo Drip Irrigation System
- Materials: Bamboo poles, drill, tubing connectors, hose, end cap
- Process:
- Cut bamboo to desired lengths
- Drill small holes along one side at plant spacing intervals
- Connect poles with tubing connectors
- Attach to hose and cap end
- Bury slightly or cover with mulch
- Sustainable Style: Beautiful, natural-looking, and waters roots directly
Project 12: The Tiered Fountain from Terra Cotta Pots
- Materials: Three terra cotta pots (small, medium, large), waterproof sealant, fountain pump, tubing, waterproof basin
- Process:
- Seal pots inside and out with waterproof sealant
- Drill hole in bottom of each pot for tubing
- Stack pots upside down with largest on bottom
- Run tubing through center, connecting to pump in basin
- Arrange decorative rocks around base
- Meditation Station: Creates soothing sound while repurposing common garden items
Chapter 6: Garden Art & Whimsy
Personal Touches That Spark Joy
Project 13: The Mosaic Stepping Stones
- Materials: Concrete stepping stone mix, mosaic tiles or broken china, safety glasses, gloves
- Process:
- Mix concrete according to package directions
- Pour into mold (cake pan, special form)
- Press mosaic pieces into surface in design
- Let cure for 48 hours, remove from mold
- Seal with outdoor masonry sealer
- Memory Keeping: Use broken pieces from sentimental dishes to create heirloom garden art
Project 14: The Recycled Bottle Border
- Materials: Glass bottles (same color or assorted), shovel, sand
- Process:
- Dig trench 1/3 of bottle height deep along border
- Fill bottom with sand for stability
- Invert bottles and nestle neck-down in trench
- Backfill with soil, packing firmly
- Magical Effect: Catches and reflects light beautifully, especially with colored bottles
Project 15: The Kinetic Wind Sculpture
- Materials: Old silverware, fishing line, metal ring or branch, drill
- Process:
- Drill small hole in end of each utensil handle
- Tie varying lengths of fishing line to utensils
- Attach other ends to ring or branch at different heights
- Hang where it will catch breeze
- Musical Garden: Creates gentle clinking sounds in the wind
Chapter 7: Lighting & Evening Magic
Extending Garden Enjoyment into Twilight
Project 16: The Solar Jar Lights
- Materials: Mason jars, solar path lights, silicone sealant
- Process:
- Remove stakes from solar lights
- Use silicone to adhere light unit to inside of jar lid
- Screw onto jar and place around garden
- Enchantment: Creates magical fairy light effect with zero electricity cost
Project 17: The Tin Can Lanterns
- Materials: Tin cans, hammer and nail, wire, tea lights
- Process:
- Fill cans with water and freeze (makes punching easier)
- Use nail and hammer to punch pattern into cans
- Add wire handles and hang from trees
- Place tea lights inside
- Pattern Ideas: Stars, moons, simple flowers, or geometric patterns
Chapter 8: The Kids’ Corner: Family-Friendly Projects
Growing the Next Generation of Gardeners
Project 18: The Pizza Garden Wheel
- Materials: Wooden dividers or stones, herbs and vegetables, marker
- Process:
- Divide circular bed into “pizza slices”
- Plant each section with pizza ingredients: tomatoes, basil, oregano, peppers, onions
- Label each section
- Harvest together and make pizza
- Educational Bonus: Teaches where food comes from in the most delicious way
Project 19: The Fairy House Village
- Materials: Natural materials (bark, acorns, pinecones, stones), small containers, moss
- Process:
- Designate a shady corner as fairy territory
- Help children construct tiny houses from natural materials
- Plant miniature plants around them
- Add tiny furniture (acorn caps as cups, bark as tables)
- Imagination Grows: Encourages ongoing storytelling and garden visits
Chapter 9: Practical Problem-Solvers
Clever Solutions for Common Garden Challenges
Project 20: The Slug Pub
- Materials: Plastic container with lid, scissors, beer
- Process:
- Cut holes in container sides near bottom
- Bury so holes are at soil level
- Fill with cheap beer
- Slugs crawl in and drown
- Effective & Chemical-Free: Controls slugs without pesticides
Project 21: The Cold Frame from Old Windows
- Materials: Old window, straw bales or wood, hinge (optional)
- Process:
- Arrange bales or build wood frame in rectangle
- Place window on top
- Add hinge if you want to be able to open it easily
- Use to extend season in spring and fall
- Season Extender: Allows earlier planting and later harvesting
Chapter 10: The Creative Gardener’s Mindset
Cultivating Your DIY Confidence
Start Before You’re Ready
The biggest barrier to garden DIY is perfectionism. Embrace these mantras:
- “Better done than perfect”
- “Plants will grow around mistakes”
- “Weather will soften edges”
- “Next year I can improve it”
Build a Creative Reuse Bin
Start collecting:
- Interesting containers
- Old tools with character
- Broken pottery and tiles
- Unusual branches and stones
- Vintage garden items
The Rule of Three Repurposes
Before discarding anything, ask: “Can this serve three garden purposes?” An old colander can be: 1) a planter, 2) a harvesting basket, 3) a light shade for seedlings.
Conclusion: Your Garden, Your Masterpiece
The most beautiful gardens aren’t those with the most expensive ornaments or rarest plants. They’re the gardens that tell a story—your story. Every DIY project adds a chapter: the trellis you built after your first successful beans, the fountain you created to mask street noise, the border made from bottles collected during a memorable summer.
These projects do more than decorate; they deepen your relationship with your space. You’re not just tending plants; you’re collaborating with your environment, problem-solving with creativity, and embedding memories into the landscape.
Start this weekend with just one project—the simplest one that calls to you. Feel the satisfaction of creating something with your hands, then watch as nature takes your creation and makes it her own, weaving vines through your trellis, moss over your stepping stones, and blooms around your upcycled planters.
Your garden is waiting to become not just something you have, but something you’ve made. Pick up your tools, gather your materials, and begin the delightful work of making your mark on your little piece of earth. The projects will grow alongside your plants, and you’ll discover that the most rewarding harvest isn’t always edible—sometimes it’s the pride that blooms when you look around and say, “I made that.”
Quick Start Project Checklist:
- Gather 5 interesting containers from your recycling
- Save next set of colorful glass bottles
- Look for old wooden ladder at yard sale
- Collect interesting stones/branches on next walk
- Designate a “garden project corner” in garage/shed
- Schedule first project weekend
- Invite a friend to create together
- Take before photos!
Resource List:
- Local salvage yards for materials
- Community tool libraries
- Online inspiration: Pinterest boards, Instagram hashtags (#gardenDIY #upcycledgarden)
- Library books on garden crafts
- Local workshops at garden centers
- Senior gardeners’ wisdom (often the best DIY experts!)