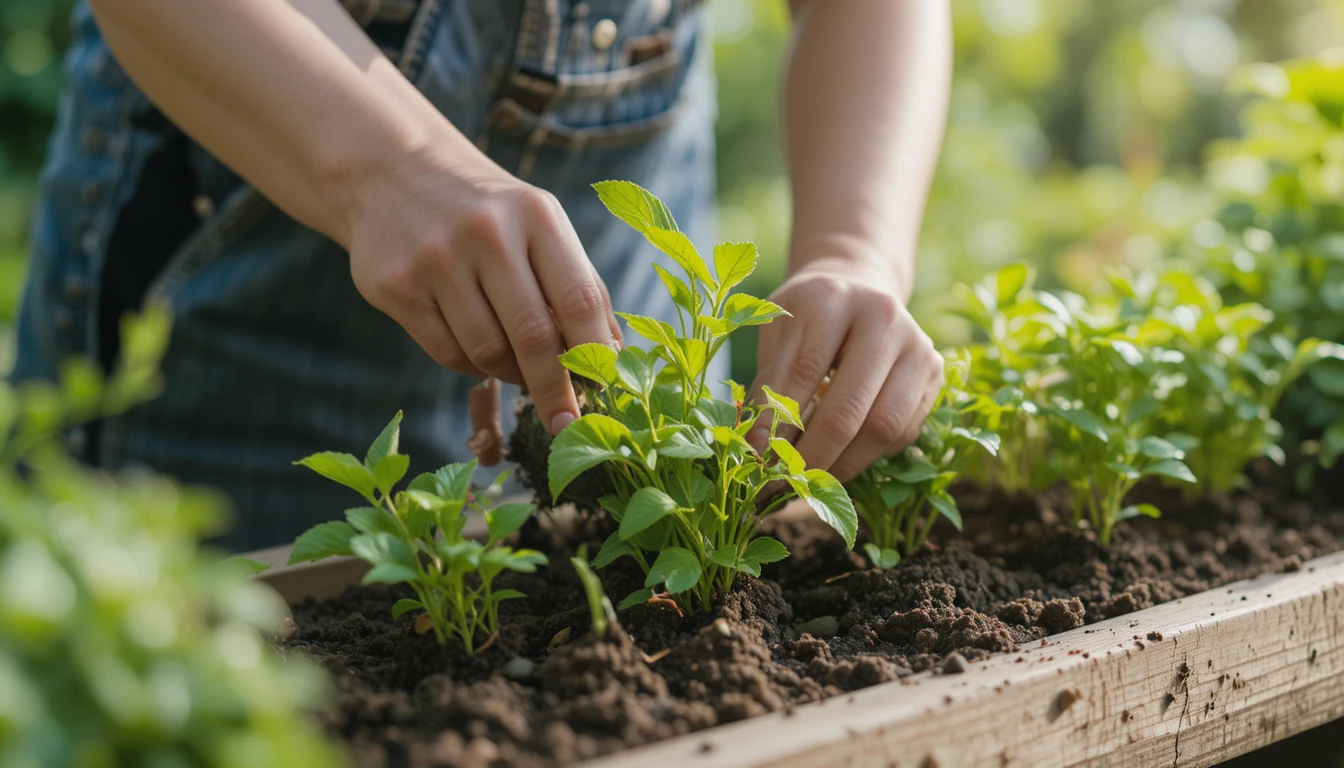
There is a special magic in the intersection of gardening and making—where the creative spirit meets the living earth. Garden DIY isn’t just about saving money (though that’s a wonderful bonus). It’s about imbuing your space with personality, solving problems with ingenuity, giving discarded objects new life, and experiencing the profound satisfaction of creating something both beautiful and functional with your own hands.
This guide is an invitation to see your garden not just as a place to grow plants, but as a canvas for creativity, a workshop for sustainable craftsmanship, and a laboratory for playful experimentation. We’ll explore projects ranging from quick weekend transformations to ambitious seasonal builds, all united by one principle: the garden should reflect the gardener’s unique imagination.
Part I: The Philosophy Of Creative Gardening
Beyond Pinterest-Perfect: Authentic Making
The most compelling garden projects aren’t those copied exactly from photos, but those that solve your specific problems and express your particular aesthetic. Before starting any project, ask:
- What need does this fulfill? (Function before form)
- What materials do I already have? (Resourcefulness over consumerism)
- What skills will I learn? (Process as important as product)
- How will this age gracefully? (Embracing patina and weathering)
The Three Rules Of Garden DIY
Rule 1: Drainage Is Non-Negotiable
No matter how beautiful your container, if it doesn’t drain, it will kill plants. Always drill holes or create drainage layers.
Rule 2: Weather Will Have The Final Say
Choose materials that age beautifully (weathered wood, rusted metal, mossy stone) or protect them properly. Fight weather at your peril.
Rule 3: Scale Matters Twice
Consider both human scale (comfort, accessibility) and plant scale (room to grow). A common mistake: building something too small for mature plants.
Part II: Found Object Planters: Upcycling With Purpose
The Poetry Of Repurposing
When you give new life to a discarded object, you add narrative to your garden. Each piece carries its history while serving new purpose.
Project 1: The Toolbox Herb Garden
Materials: Vintage metal toolbox, drill, landscape fabric, potting mix, herbs
Process:
- Drill drainage holes in bottom (metal bit required)
- Line with landscape fabric to contain soil
- Fill compartments with different herbs
- Add personality with vintage tools as markers
Why it works: Perfect drainage, compartmentalization for different herbs, portable if needed
Project 2: The Ladder Display Stand
Materials: Old wooden ladder (missing rungs is fine), planks for shelves, outdoor paint/stain (optional)
Process:
- Clean and stabilize ladder
- Cut planks to fit between rungs as shelves
- Secure shelves with brackets or simply rest them
- Lean against wall or fence
- Display potted plants, trailing vines, or garden tools
Variations: Paint each shelf a different color, use as vertical herb garden with small pots
Project 3: The Colander Hanging Garden
Materials: Metal colander, chain or rope, sphagnum moss, potting soil, plants
Process:
- Thread chain through colander holes for hanging
- Line with damp sphagnum moss
- Add soil and plants (trailing plants work beautifully)
- Hang in partial shade
Why it’s genius: Already has perfect drainage, lightweight, charmingly whimsical
Project 4: The Book Planter (For Shade)
Materials: Large hardcover book, utility knife, waterproof sealant, small plastic pot, shade-loving plant
Process:
- Carefully carve out center pages, leaving 1-inch border
- Seal interior with multiple coats of waterproof sealant
- Nestle plastic pot inside (so plant can be removed for watering)
- Plant with fern, miniature hosta, or moss
Perfect for: Shelves, shaded patio tables, adding literary charm
Part III: Vertical Solutions: Growing Up, Not Out
Maximizing Small Spaces With Creative Structures
Project 5: The Pallet Garden Wall
Materials: Standard pallet (HT stamped = heat-treated, safe), landscape fabric, staple gun, potting soil
Process:
- Stand pallet upright with slats horizontal
- Staple landscape fabric to back and sides
- Lay pallet flat, fill with soil through slats
- Plant through front openings
- Let plants establish 2-3 weeks lying flat before standing upright
Plant choices: Succulents, strawberries, herbs, trailing flowers
Safety: Secure firmly to wall or fence to prevent tipping
Project 6: The Gutter Garden System
Materials: Vinyl gutters, end caps, mounting brackets, drill
Process:
- Cut gutters to desired length (4 feet works well)
- Attach end caps with waterproof sealant
- Drill drainage holes every 6 inches
- Mount on fence, railing, or wall
- Perfect for: Lettuce, radishes, strawberries, herbs
Pro tip: Create tiered system for maximum space use
Project 7: The Shoe Organizer Vertical Garden
Materials: Canvas hanging shoe organizer, potting soil, plants
Process:
- Hang on sunny fence or wall
- Fill pockets with potting mix
- Plant herbs or flowers (one per pocket)
- Water carefully (drainage happens through fabric)
Brilliant because: Incredibly space-efficient, each plant has its own compartment, can be rolled up for winter
Project 8: The Branch Teepee Trellis
Materials: 6-8 straight branches (6 feet long), jute twine, climbing plants
Process:
- Gather branches together, tie tightly at top
- Spread bottoms to form teepee shape
- Bury ends 6 inches for stability
- Add horizontal twine for plants to climb
- Plant climbing beans, peas, or morning glories at each leg
Charm factor: Rustic, natural, free materials
Part IV: Creative Garden Structures & Furniture
Building The Bones Of Your Garden
Project 9: The Copper Pipe Trellis
Materials: Copper pipes and fittings, pipe cutter, plants
Process:
- Design geometric shape (cube, arch, grid)
- Cut pipes to size
- Dry-fit, then assemble
- Push legs into ground or secure to container
Why copper: Develops beautiful patina, adds trace minerals to soil, sturdy yet elegant
Project 10: The Cinder Block Garden Bench
Materials: Cinder blocks, 4×4 lumber, outdoor cushions
Process:
- Arrange cinder blocks as bench legs (two stacks of three)
- Insert 4×4s as seat supports
- Add plank seating or use the 4×4s as seat
- Paint blocks if desired, add cushions
Versatile: Can be reconfigured, blocks can be planted with herbs or succulents
Project 11: The Mosaic Stepping Stones
Materials: Concrete mix, mosaic tiles or broken china, mold (cake pan works), safety glasses
Process:
- Mix concrete according to instructions
- Pour into mold
- Press mosaic pieces into surface in design
- Let cure 48 hours, remove from mold
- Seal with outdoor masonry sealer
Memory keeping: Use broken dishes from meaningful occasions
Project 12: The Living Willow Arch
Materials: Fresh willow cuttings (2-3 feet long), moist soil
Process:
- Soak willow cuttings in water 24 hours
- Plant two rows of cuttings, bending tops to meet
- Weave tops together, secure with twine initially
- Keep soil moist until established
Living sculpture: Grows leaves, can be pruned into shape
Part V: Water Features & Irrigation Hacks
Bringing Movement And Efficiency
Project 13: The Self-Watering Container
Materials: Two 5-gallon buckets, PVC pipe, drill, landscape fabric
Process:
- Designate one bucket as reservoir, one as planter
- Cut large opening in planter lid, line with fabric
- Create wicking system with fabric strips or small pot
- Add fill tube and overflow hole
- Plant and fill reservoir
Game changer: Can go 1-3 weeks without watering
Project 14: The Bamboo Drip Irrigation
Materials: Bamboo poles, drill, tubing connectors
Process:
- Cut bamboo to desired lengths
- Drill small holes along one side
- Connect poles with tubing
- Connect to hose, cap end
- Bury slightly or cover with mulch
Why it’s wonderful: Beautiful, natural, waters roots directly
Project 15: The Terra Cotta Fountain
Materials: Three terra cotta pots (small, medium, large), waterproof sealant, fountain pump, basin
Process:
- Seal pots inside and out
- Drill hole in bottom of each for tubing
- Stack pots upside down (largest on bottom)
- Run tubing through center
- Arrange in basin with pump
Meditation station: Creates soothing sound from simple materials
Part VI: Garden Art & Whimsy
Personal Touches That Spark Joy
Project 16: The Recycled Bottle Border
Materials: Glass bottles (same color or assorted), shovel, sand
Process:
- Dig trench 1/3 bottle height deep
- Fill bottom with sand for stability
- Invert bottles, nestle neck-down in trench
- Backfill with soil
Magical effect: Catches and reflects light, especially with colored bottles
Project 17: The Kinetic Wind Sculpture
Materials: Old silverware, fishing line, metal ring, drill
Process:
- Drill small hole in each utensil handle
- Tie varying lengths of fishing line to utensils
- Attach other ends to ring at different heights
- Hang where it will catch breeze
Musical garden: Creates gentle clinking sounds
Project 18: The Birdhouse Village
Materials: Scrap wood, old teapots, gourds, creativity
Process:
- Create or repurpose small structures
- Ensure proper drainage and ventilation
- Mount at appropriate heights for different species
- Place away from feeders to reduce competition
Eco-benefit: Supports bird populations, adds charming focal points
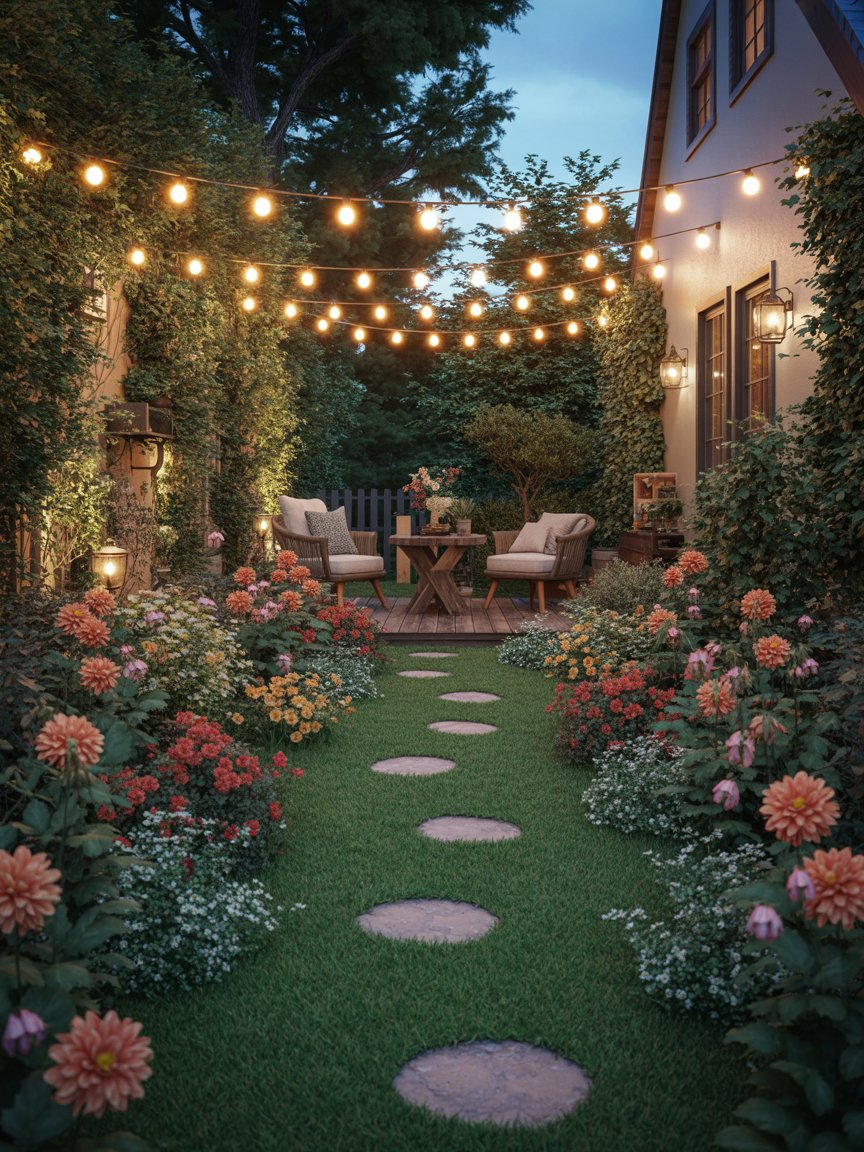
Project 19: The Night Garden Lights
Materials: Mason jars, solar path lights, silicone sealant
Process:
- Remove stakes from solar lights
- Adhere light unit to inside of jar lid with silicone
- Screw onto jar, place around garden
Enchantment: Creates magical fairy light effect with zero electricity cost
Part VII: Problem-Solving Projects
Clever Solutions For Common Challenges
Project 20: The Slug Pub
Materials: Plastic container with lid, scissors, beer
Process:
- Cut holes in container sides near bottom
- Bury so holes are at soil level
- Fill with cheap beer
- Slugs crawl in and drown
Effective & chemical-free: Controls slugs without pesticides
Project 21: The Cold Frame From Old Windows
Materials: Old window, straw bales or wood, hinge (optional)
Process:
- Arrange bales or build wood frame in rectangle
- Place window on top
- Add hinge if desired for easy opening
- Use to extend season in spring and fall
Season extender: Allows earlier planting and later harvesting
Project 22: The Portable Potting Bench
Materials: Old dresser, wooden crate, or repurposed furniture
Process:
- Remove drawers if using dresser
- Add shelf or storage below
- Seal or paint for weather resistance
- Add wheels for mobility if desired
Versatility: Can be stored in winter, moved to where work is happening
Project 23: The Rain Chain From Kitchenware
Materials: Old kitchen utensils (ladles, measuring cups, whisks)
Process:
- Drill holes in bottom and top of each item
- Connect with heavy-gauge jump rings
- Attach top to downspout diverter
- Let bottom dangle into rain barrel or decorative basin
Kinetic art: Transforms rainwater movement into visual and auditory pleasure
Part VIII: Kid-Friendly Projects
Growing The Next Generation Of Gardeners
Project 24: The Pizza Garden Wheel
Materials: Stones or wood for dividers, herbs and vegetables
Process:
- Divide circular bed into “pizza slices”
- Plant each section with pizza ingredients: tomatoes, basil, oregano, peppers
- Label each section
- Harvest together and make pizza
Educational bonus: Teaches where food comes from deliciously
Project 25: The Fairy House Village
Materials: Natural materials (bark, acorns, pinecones), small containers, moss
Process:
- Designate shady corner as fairy territory
- Help children construct tiny houses
- Plant miniature plants around them
- Add tiny furniture (acorn caps as cups)
Imagination grows: Encourages ongoing storytelling and garden visits
Project 26: The Bean Pole Teepee
Materials: 6-8 bamboo poles or branches, twine, bean seeds
Process:
- Create teepee structure, tie at top
- Plant beans at each pole
- Watch as beans climb and create living fort
- Harvest beans from inside the teepee
Magical for children: Creates secret garden space
Project 27: The Painted Rock Garden Markers
Materials: Smooth rocks, outdoor acrylic paint, sealant
Process:
- Clean and dry rocks
- Paint with plant names or pictures
- Seal with outdoor sealant
- Place in garden as markers
Creative & practical: Kids learn plant names while creating art
Part IX: Seasonal & Holiday Projects
Celebrating The Year’s Cycle
Project 28: The Living Wreath
Materials: Wire wreath frame, sphagnum moss, potting soil, small plants
Process:
- Soak moss, line frame
- Add soil through moss
- Insert small plants (succulents, herbs)
- Mist regularly until established
Year-round beauty: Can be adapted for any season
Project 29: The Harvest Moon Lanterns
Materials: Paper bags, sand, votive candles, autumn leaves
Process:
- Fill bags with sand to weigh down
- Decorate with leaf rubbings or cutouts
- Place candle in sand
- Line pathways for autumn evenings
Seasonal magic: Celebrates harvest time with safe, beautiful light
Project 30: The Winter Berry Wreath
Materials: Grapevine wreath, winter berry branches, pine cones, wire
Process:
- Attach berry branches to wreath with wire
- Add pine cones and other natural elements
- Hang on door or fence
- Provides food for birds through winter
Eco-friendly decor: Beautiful while supporting wildlife
Part X: The Creative Gardener’s Toolkit
What You Really Need (And What You Don’t)
Essential Tools:
- Cordless drill with various bits
- Hand saw or Japanese pull-saw
- Hammer and assortment of nails
- Staple gun (for landscape fabric)
- Pruners and heavy-duty scissors
- Measuring tape and level
- Safety glasses and gloves
Material Sources:
- Free: Craigslist “free” section, construction site discards (ask first), fallen branches
- Thrift stores: Kitchenware, furniture, containers
- Hardware store remnants: Tile samples, paint mis-tints, cut-off lumber
- Nature: Stones, pine cones, interesting seed pods
- Your own recycling: Glass bottles, plastic containers, tin cans
The Creative Mindset Shift:
Before discarding anything, ask:
- Could this hold soil? (Container)
- Could this support plants? (Trellis material)
- Could this add visual interest? (Art element)
- Could this solve a garden problem? (Functional use)
Part XI: Safety & Sustainability Considerations
Creating Responsibly
Material Safety:
- Avoid pressure-treated wood in vegetable gardens (arsenic concerns)
- Use lead-free paints and sealants
- Ensure containers weren’t used for toxic substances
- Research plant toxicity if children or pets are present
Environmental Considerations:
- Choose locally sourced materials when possible
- Use non-toxic adhesives and finishes
- Consider the full lifecycle of materials
- Design for disassembly and reuse
Structural Safety:
- Ensure trellises and structures can withstand wind
- Secure anything that could tip onto people
- Use proper fasteners for the materials
- Consider frost heave for in-ground structures
Part XII: The Never-Finished Garden
Embracing Evolution
The most beautiful gardens are those that evolve. Your DIY projects will weather, plants will outgrow them, and your tastes will change. This isn’t failure—it’s the garden’s story unfolding.
The Annual Refresh Ritual:
- Spring: Assess winter damage, repair or reimagine
- Summer: Add whimsical touches, create shade solutions
- Autumn: Build structures for next year, preserve harvest
- Winter: Plan new projects, repair tools
Documenting Your Journey:
- Take before and after photos
- Note what worked and what didn’t
- Save sketches and plans
- Share knowledge with other garden makers
Conclusion: Your Garden, Your Story
Every DIY project in your garden becomes a chapter in your story—the trellis you built the spring you learned to weld, the fountain you created to mask city noise, the border made from bottles collected during a memorable summer. These creations do more than decorate; they embed memories into the landscape and deepen your relationship with your space.
Start this weekend with the simplest project that calls to you—a painted rock, a repurposed container, a small trellis. Feel the satisfaction of creating something with your hands, then watch as nature takes your creation and makes it her own, weaving vines through your structures, moss over your stepping stones, and life around your art.
Remember: Perfection is not the goal. Expression is. Problem-solving is. Joy is. Your garden is waiting to become not just something you have, but something you’ve made. Pick up your tools, gather your materials, and begin the delightful work of making your mark on your little piece of earth.
The most rewarding harvest isn’t always edible—sometimes it’s the pride that blooms when you look around and say, with a smile, “I made that.”